How to Add a Database to a Lovable App
TL;DR: Lovable ships with two database options, Lovable Cloud and Supabase. You aren't limited to either one. Because Lovable builds a normal React frontend, it can call any REST API over fetch. With MoonDB you define a schema, get a hosted API with auth, and tell Lovable to use those endpoints.
Lovable's two built-in database options
When you ask Lovable to save data, it offers two paths, and it helps to know what each one is before you reach for a third.
The first is Lovable Cloud. You prompt the AI with something like "store these tasks in a database," and it provisions a backend for you, tables and auth included, with no second account to manage. For a weekend build that never leaves the Lovable canvas, this is the shortest road.
The second is Supabase. Lovable has a deep integration with it: connect a Supabase project and the AI can create Postgres tables, wire up email login, and read and write through the Supabase client it generates. You get a real Postgres database and the broad Supabase toolset behind your app.
Both work. The limit is portability: your data and your API live inside the tool you started in.
Why reach for a database outside Lovable
A generated app is convenient until the backend belongs to the tool instead of to you. Three reasons push people to host the data themselves.
You own the API. If the same data feeds a mobile app, a cron job, or a second site later, a backend tied to one builder turns into a migration you keep postponing. A standalone REST API serves all of them from day one.
A backend swap stays cheap. Connecting Supabase means your frontend speaks the Supabase client library, so moving off it later means reworking the data-access code that uses it. An app that talks plain HTTP to a URL you control switches backends by changing a base URL.
Agents work better with this shape. Coding agents write JSON and HTTP calls all day. Hand one a declarative schema and a REST endpoint and it has what it needs, rather than generating database migrations it can't test.
None of this means Lovable Cloud or Supabase are wrong. It means the database is worth choosing deliberately, early, while switching is still cheap.
Add a database to your Lovable app with MoonDB
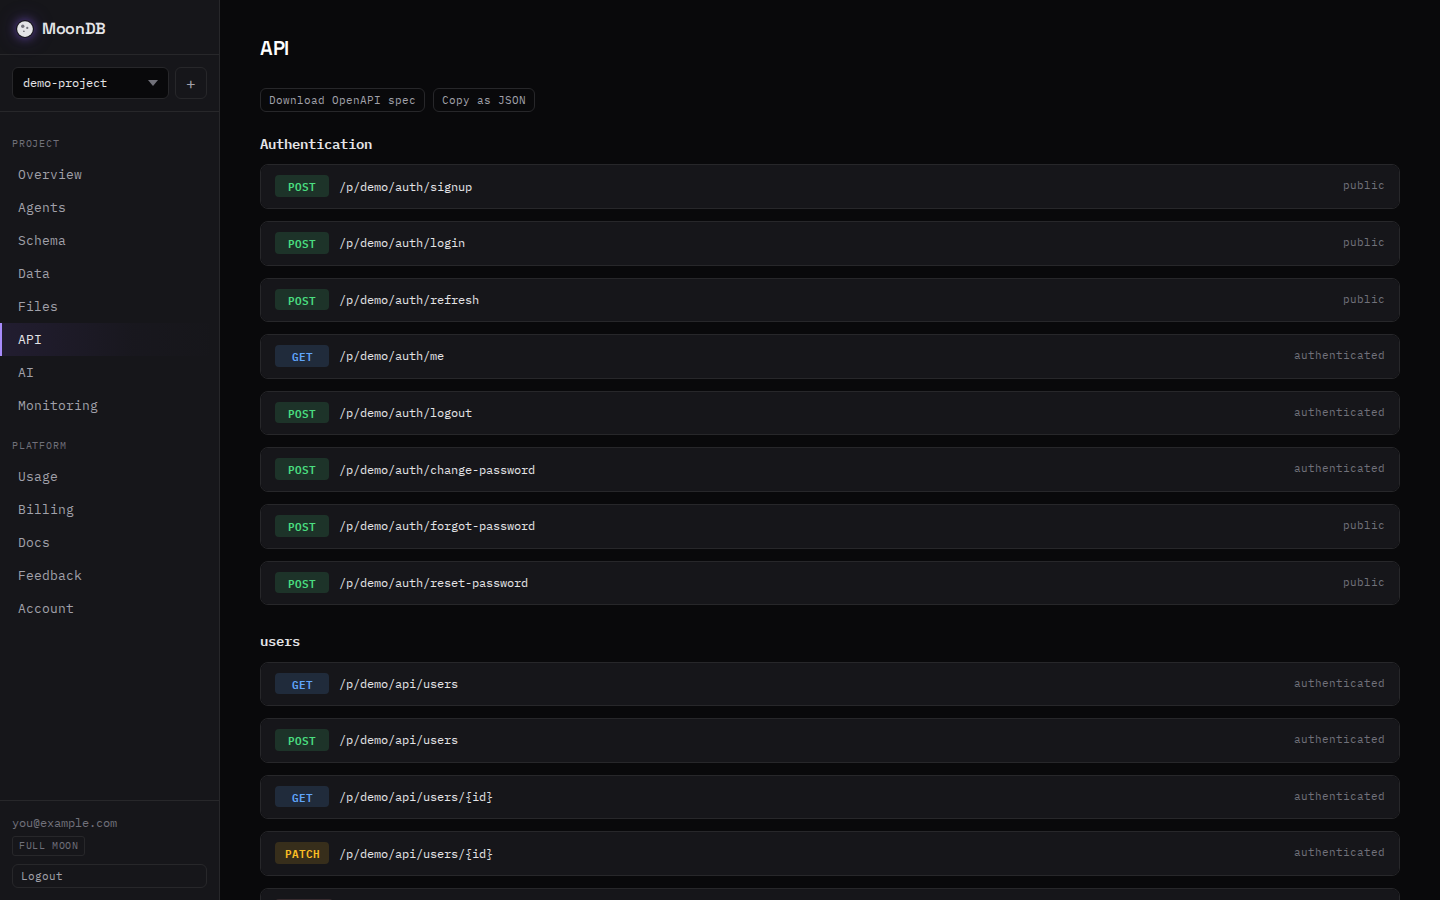
MoonDB turns a JSON schema into a hosted backend: real tables, CRUD endpoints, auth, and file storage at a stable URL. You set it up once, outside Lovable, then point the app at it. Here is the whole path for a small task app.
Step 1: create a project
One call returns the keys you need.
curl -X POST https://moondb.ai/v1/projects \
  -H "X-API-Key: mk_your_account_key" \
  -H "Content-Type: application/json" \
  -d '{ "name": "lovable-tasks" }'
{ "data": { "id": "p_8fz2", "admin_key": "sk_...", "public_key": "pk_..." } }Keep the admin_key for yourself; it changes the schema. The public_key is the one your Lovable app carries in the browser.
Step 2: send the schema
You describe the tables and rules in JSON and apply them with a single PUT. This task app has users who log in and tasks that each user owns.
curl -X PUT https://moondb.ai/p/p_8fz2/v1/schema \
  -H "X-Admin-Key: sk_..." \
  -H "Content-Type: application/json" \
  -d @schema.json
{
  "tables": {
    "users": {
      "columns": { "email": "string required unique", "display_name": "string" },
      "auth_table": true,
      "access": { "create": "public", "read": "owner", "update": "owner", "delete": "admin" }
    },
    "tasks": {
      "columns": {
        "user_id": "ref users required",
        "title": "string required max_length 200",
        "done": "bool default false"
      },
      "owner_field": "user_id",
      "access": { "create": "authenticated", "read": "owner", "update": "owner", "delete": "owner" }
    }
  }
}
The short strings carry the rules. "string required unique" becomes a non-null, indexed column. "ref users required" is a foreign key into users. Setting auth_table: true turns users into a login table with hashed passwords and a set of /auth/* endpoints. The access block decides who can do what: owner_field ties each task to the account that created it, so one user never reads another user's list, and on the users table owner means each person's own row. MoonDB also adds id, created_at, and updated_at to every table, which is why the read below can sort by created_at without you declaring it.
MoonDB reads that, creates the tables, and serves the API immediately. Change the schema later and you send new JSON; MoonDB diffs it and migrates, and it asks before anything destructive runs.
Step 3: call the API from your Lovable app
Lovable writes the frontend, so the wiring is a prompt and a few fetch calls. Tell the AI not to use Supabase and give it your endpoints:
Don't add Supabase. The backend is a REST API at
https://moondb.ai/p/p_8fz2. Sign users up withPOST /auth/signupand log them in withPOST /auth/login, sending the public keypk_...as anX-Public-Keyheader on those calls. Store the returned token and send it as anAuthorization: Bearerheader on every read and write to/api/tasks.
A new user signs up from the browser with the public key:
await fetch("https://moondb.ai/p/p_8fz2/auth/signup", {
  method: "POST",
  headers: { "Content-Type": "application/json", "X-Public-Key": "pk_..." },
  body: JSON.stringify({ email, password })
});
Login returns a token. From then on, every task call carries it, and the access rules from the schema do the rest:
// Create a task for the logged-in user
await fetch("https://moondb.ai/p/p_8fz2/api/tasks", {
  method: "POST",
  headers: { "Content-Type": "application/json", "Authorization": `Bearer ${token}` },
  body: JSON.stringify({ title: "Ship the MVP" })
});

// Read this user's open tasks, newest first
await fetch("https://moondb.ai/p/p_8fz2/api/tasks?done=eq.false&sort=created_at.desc", {
  headers: { "Authorization": `Bearer ${token}` }
});
That filtered read is the generated API already working. Two calls set the backend up: create the project and send the schema. From there your Lovable app signs each user in and reads and writes through the generated API, and the schema's access rules apply on every request. The app stayed a normal Lovable frontend the whole time. If you build with other tools too, the same endpoints back a Bolt or Cursor project without change.
MoonDB vs Lovable Cloud vs Supabase for a Lovable app
| Lovable Cloud | Supabase | MoonDB | |
|---|---|---|---|
| Setup | Built in, prompt only | Connect a project | Three API calls |
| Database | Managed for you | Postgres | SQLite on Cloudflare D1 |
| How the app talks to it | Generated client | Supabase client library | Plain fetch to a REST URL |
| Use the same data elsewhere | Inside Lovable | Yes, via Supabase | Yes, any HTTP client |
| Schema source | Prompts | SQL or dashboard | One JSON document |
| Switch backends later | Rebuild | Rework client code | Change a base URL |
Supabase brings the deepest Lovable integration and the full weight of Postgres. Lovable Cloud is the fastest start when the app lives entirely in the editor. MoonDB fits when you want a portable REST API you own, defined from a schema an agent can write, and the least lock-in to the builder.
When this is the right call, and when it isn't
A hosted, schema-driven backend fits an MVP, a side project, an internal tool, or anything an AI agent is scaffolding. The data model is the real work, and a JSON schema plus REST endpoints removes the part that usually stalls, which is building the backend at all.
Be honest about the limits. MoonDB runs on SQLite through Cloudflare D1. You get fast reads at the edge and a simple model, with one writer per database and a 10 GB ceiling, which holds millions of rows in a typical app. A write-heavy system with thousands of concurrent writers wants a dedicated database, and this is not a drop-in Postgres replacement. If you are weighing the two, here is how MoonDB compares to Supabase, and the schema and API reference covers every field type. For the prompt-to-app range most Lovable projects live in, owning the API early saves the migration later.
If the JSON-to-endpoints idea is new to you, the longer walkthrough on generating a REST API from a JSON schema covers the schema format in more depth. The MoonDB for Lovable page shows the same flow framed around Lovable.
FAQ
Does Lovable have its own database?
Yes. Lovable Cloud is a built-in backend you turn on by asking the AI to create a database. It stores data, runs auth, and needs no separate account. For more control you can connect Supabase, or point the app at your own hosted REST API instead.
Can I connect a Lovable app to a database other than Supabase?
Yes. Lovable generates a normal React frontend, so it can call any REST API over fetch. Instead of the Supabase client, you tell Lovable the URL of your backend and how to authenticate. A hosted API like MoonDB gives you those endpoints without running a server.
Do you need Supabase to build a Lovable app?
No. Supabase is the default external option, and Lovable Cloud covers the built-in case. Neither is required. Any backend that speaks HTTP works, because the app talks to it with plain fetch calls. You decide who hosts your data and your API.
How do I connect a Lovable app to an external REST API?
Give Lovable the base URL and auth scheme in a prompt, then ask it to read and write through those endpoints. The app sends a public key from the browser and a bearer token after login. With MoonDB you create the API from a JSON schema first, then point Lovable at it.
Sources
- Lovable Cloud — Lovable's built-in backend
- Lovable docs: connect to Supabase — the Supabase integration
- MoonDB documentation — the schema format and full API reference